Deployment
About IOTA nodes
IOTA full-nodes (such as Hornet) are able to start up from a more recent block instead of having to synchronize from genesis. This is made possible by booting the IOTA full-node with recent snapshots.
Furthermore, IOTA full-nodes implement the Storage Pruning feature. Per default, they prune history from time to time in a safe way - similar to the nodes in the Bitcoin network that run in pruning mode.
Instructions
Following instructions will start a Hornet node together with a Rosetta API instance:
-
Ensure
dockeranddocker-composeare installed. -
Download the latest release of
rosetta-iotaand extractrosetta-iotato a folder of your choice. -
The docker image runs under user with user id 65532 and group id 65532. To make sure there are no permission issues with the Hornet node, prepare the working directories so that Hornet can read and write data to the host system:
cd rosetta-iota mkdir -p data/storage/chrysalis-mainnet && chown 65532:65532 data/storage/chrysalis-mainnet mkdir -p data/storage/chrysalis-devnet && chown 65532:65532 data/storage/chrysalis-devnet mkdir -p data/snapshots/chrysalis-mainnet && chown 65532:65532 data/snapshots/chrysalis-mainnet mkdir -p data/snapshots/chrysalis-devnet && chown 65532:65532 data/snapshots/chrysalis-devnet mkdir -p data/p2pstore && chown 65532:65532 data/p2pstore -
Optionally: if you want your Hornet node to use an already existing node ID, replace the
data/p2pstorefolder accordingly and make sure that the correct permissions are set:chown 65532:65532 data/p2pstore -R -
Hornet exposes different functionality on different ports:
-
15600 TCP - node gossip protocol port (exposed to the Internet)
-
14265 TCP - node REST API port (exposed to localhost only)
The Rosetta API exposes following ports:
- 3030 TCP - Rosetta API port (exposed to localhost only)
The mentioned ports are important for flawless operation. Make sure port 15600 is accessible from the Internet else your Hornet node will not be able to interact with other nodes. If you want to change a port, you can do so in the docker-compose files.
-
-
Add your peer(s) - to which your Hornet node should connect. For
chrysalis-mainnet, add the peers to thehornet/chrysalis-mainnet/peering.jsonfile. Forchrysalis-devnet, add the peers to thehornet/chrysalis-devnet/peering.jsonfile. If you don't have any peers, please contact us and we will help you find some.For better illustration, the
peering.jsonfile should then look like the following, for example:{ "peers": [ { "multiAddress": "/dns/xyz.com/tcp/15600/p2p/12D3KooWEVGFchjYqCH1nAWt2norb6sJYEedmEkPofoNiyDwyptf", "alias": "Alice" }, { "multiAddress": "/ip4/121.56.12.23/tcp/15600/p2p/12D3KooWRNYKZXYqZngxQee5BefmzcW5Zk6Tc6iE92U2uZwArHw9", "alias": "Bob" } ] } -
Share your own Hornet multiaddress with your peers so that they will be able to mutually tether. A multiaddress - as illustrated above - consists of:
- the Internet address of your node (e.g.
/dns/xyz.comor/ip4/121.56.12.23) - the node gossip protocol port (e.g.
/tcp/15600) - the node ID (e.g.
/p2p/12D3KooWRNYKZXYqZngxQee5BefmzcW5Zk6Tc6iE92U2uZwArHw9)
You will find your node ID in the logs when you run the implementation. Please look for an entry like:
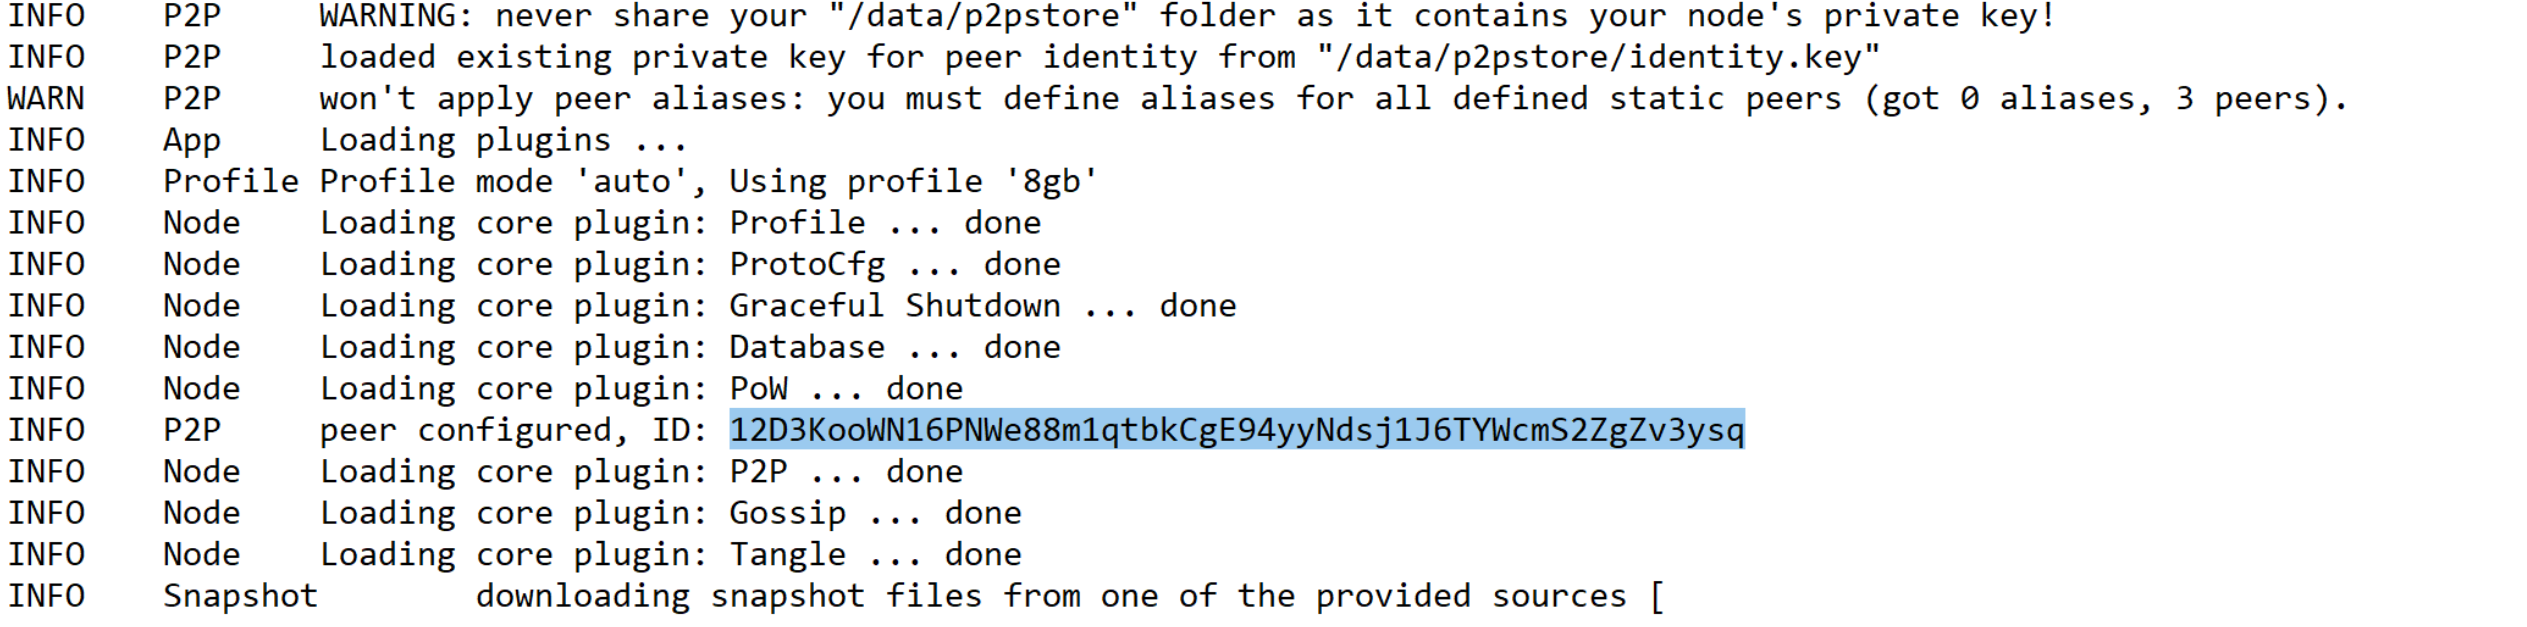
- the Internet address of your node (e.g.
-
Run the implementation in
online/offlinemode for the desired network:chrysalis-mainnet
MODE=online docker-compose -f docker-compose.chrysalis-mainnet.yml upchrysalis-devnet
MODE=online docker-compose -f docker-compose.chrysalis-devnet.yml up -
If you want to reuse the node ID with a later deployment (see step 4.) make sure you back up the
data/p2pstoredirectory. Otherwise, you cannot reuse the same node ID for subsequent deployments. -
Congratulations, your node will now try to synchronize with its peers. You can check its health status at: http://127.0.0.1:14265/api/v1/info
After the Hornet node is synchronized with its peers, you can start using the Rosetta API at port 3030.
Further notes:
The node will be bootstrapped automatically with recent snapshots to start synchronizing from a more recent block. For chrysalis-mainnet, the snapshots will be automatically downloaded from https://chrysalis-dbfiles.iota.org. For chrysalis-devnet, the snapshots will be automatically downloaded from http://dbfiles.chrysalis-devnet.iota.cafe. If you want to bootstrap the node yourself, you can do so by placing your snapshots appropriately in the data/snapshots directory.